High ambient temperatures reduce panel voltage, lowering output. This guide explains how to diagnose thermal derating, check the temperature coefficient solar data, and apply cooling or shading to restore performance.
- Heat reduces panel voltage before it reduces current, causing a visible drop in wattage.
- The temperature coefficient solar value on the datasheet predicts how much power is lost per degree of warming.
- Airflow, shading, and mounting clearance are the most effective ways to manage thermal load.
- Regular visual and electrical checks help distinguish heat-related derating from wiring or inverter issues.
- Proper thermal management protects long-term yield without requiring expensive retrofits.
What symptoms point to heat-related output loss
A sudden drop in production on a hot, clear day is a common complaint from site operators and building managers. The drop usually appears on the inverter or monitoring dashboard as a reduction in DC or AC power. This pattern differs from the gradual decline seen with soiling or a failing string.
Look for these indicators during a field inspection:
- Panels feel hot to the touch, even though the sky is clear.
- Output drops sharply when ambient temperature rises above a certain threshold.
- The drop recovers quickly when clouds pass or the temperature falls in the evening.
- Voltage readings are lower than expected, while current remains relatively stable.
If the production loss follows the daily temperature curve, heat is the likely driver. The physics behind this is straightforward. Solar cells convert sunlight into electrical energy, but heat interferes with the electron flow. As the cell temperature rises, the bandgap changes, which lowers the voltage produced by the string. Current changes less, but voltage is the main driver of power in most configurations.
This is where the temperature coefficient solar data becomes useful. It is a number, usually expressed in percent per degree Celsius, found on the module datasheet. It tells you how much of the rated power is lost for each degree the cell warms above the standard test condition. For example, a coefficient of -0.3 percent per degree means a loss of three tenths of a percent for every degree of warming. Over a ten degree rise, the total loss is roughly three percent.
How the temperature coefficient affects your system
The temperature coefficient solar value is not just a specification line. It directly impacts the energy yield of your array. Different materials have different thermal behaviors. Most crystalline silicon modules fall within a common range, but thin-film technologies often show a different sensitivity. Always check the specific datasheet for the modules in your array.
The standard test condition is 25 degrees Celsius for the cell. In the field, panel temperatures can easily exceed this. The actual cell temperature depends on several factors:
- Ambient air temperature.
- Solar irradiance intensity.
- Airflow across the module surface.
- Orientation and tilt angle.
- Mounting system design.
A module mounted flush against a hot roof will run hotter than one mounted on a rack with clearance. The temperature difference can be several degrees, which changes the derating significantly. Understanding this gap is key to troubleshooting.
If your system shows low output, start by calculating the expected thermal loss. Use the ambient temperature, the irradiance level, and the temperature coefficient from the datasheet. Compare the calculated loss to the actual loss observed on the monitoring system. A large discrepancy suggests another issue, such as a wiring fault, a partially failed string, or an inverter limitation.
Diagnostic steps for thermal derating
When you suspect heat is the problem, follow a structured diagnostic path. Do not guess. Measure first.
- Check the monitoring data. Look at the power output over the last 24 hours. Correlate the dip with the temperature graph. If the dip aligns with the peak temperature, thermal derating is a strong candidate.
- Review the inverter logs. Some inverters log module voltages and currents separately. If voltage is low but current is normal, the issue is likely thermal. If both are low, investigate the string or inverter input.
- Inspect the physical array. Look for obstructions that block airflow. Check for dust or debris on the back of the modules. Verify that mounting hardware is tight and not deforming the modules.
- Measure with a multimeter. If safe to do so, measure the open-circuit voltage of a string. Compare it to the expected value at the measured ambient temperature. A significantly lower voltage confirms thermal stress.
During this process, keep in mind that high ambient temperatures can also affect the inverter itself. Some inverters derate their output when their internal temperature rises. Check the inverter manual for its own thermal limits. If the inverter is in a hot enclosure or a poorly ventilated space, it may be the bottleneck, not the panels.
Common symptoms, causes, and fixes
The table below summarizes the most frequent scenarios related to high ambient temperatures. Use it as a quick reference during your field assessment.
| Symptom | Likely cause | What to do |
|---|---|---|
| Power drops on hot, sunny days | Normal thermal derating from heat | Verify with temperature coefficient solar data; improve airflow if possible. |
| Voltage is low, current is normal | Cell temperature too high | Check mounting clearance; add shading; ensure inverter is not overheating. |
| Power recovers at sunset | Transient thermal effect | No action needed if within expected range; monitor for consistency. |
| Inverter alarms for overtemperature | Poor ventilation or high ambient heat | Improve inverter airflow; shade the inverter; check fan operation. |
| One string drops more than others | Blocked airflow or shading on specific modules | Inspect for debris, shading, or mounting issues on that specific string. |
| Output is low in all conditions | Wiring, inverter, or module failure | Perform electrical tests; isolate the faulty component. |
This table helps separate normal physics from fault conditions. If your system behaves as expected according to the datasheet, the “fix” may simply be better planning. If it deviates, the physical inspection will reveal the cause.
Practical thermal management strategies
You cannot always control the weather, but you can control how your system responds to it. Thermal management is about reducing the peak cell temperature or improving the system’s ability to dissipate heat.
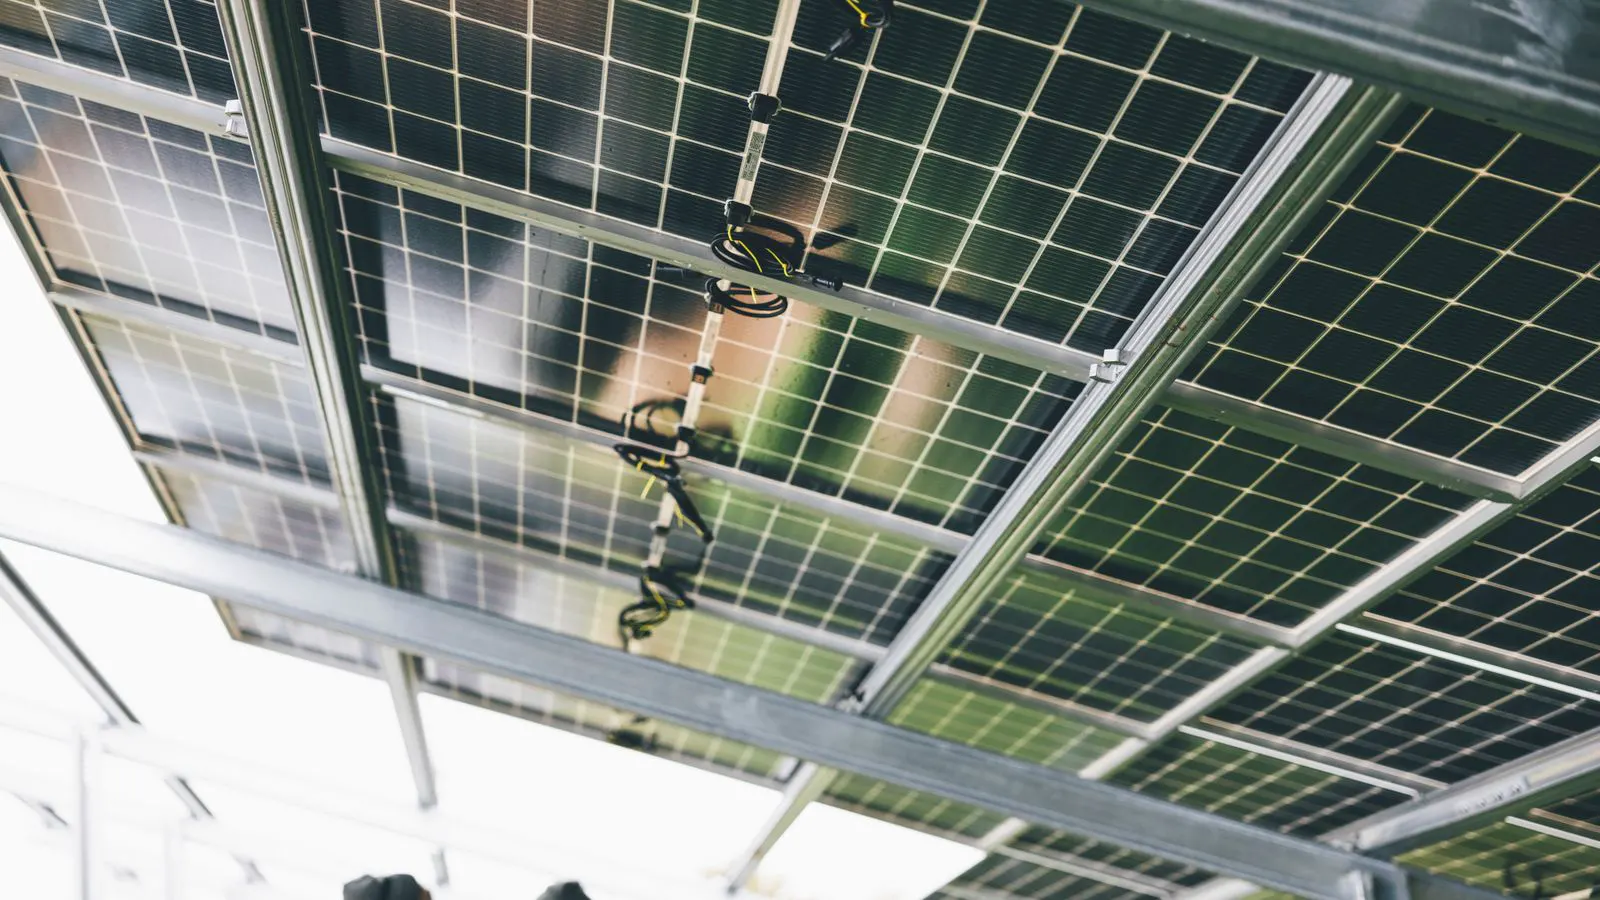
Increase airflow. This is the most effective method. Ensure there is adequate clearance between the modules and the surface they are mounted on. For roof-mounted systems, use stands or racks that lift the panels off the roof. For ground mounts, ensure the modules are not buried in insulation or debris. Airflow cools the back of the module, which lowers the cell temperature.
Apply shading strategically. Shading can reduce the temperature of the modules. However, shading also reduces the energy production. The goal is to find a balance. A small amount of shade on the back of the modules, or on the inverter, can be more beneficial than shading the front. Use lightweight, durable materials that do not degrade.
Check the mounting system. Loose or poorly designed mounts can trap heat. Ensure the mounts are designed for the local climate. Some mounting systems are better at dissipating heat than others. If you are retrofitting an existing system, consider adding ventilation channels or spacers.
Monitor the inverter location. Inverters generate heat. Place them in a shaded, ventilated area. Avoid mounting them on the south or west face of a building where they are exposed to direct sun. If the inverter is in an enclosure, ensure it has proper ventilation or a cooling fan.
Long-term planning and maintenance
High ambient temperatures are a permanent feature of many solar sites. Treating thermal derating as a one-time event is a mistake. It is a continuous performance factor.
Incorporate thermal checks into your regular maintenance routine. During your annual inspection, review the production data against the ambient temperature. Calculate the average thermal loss. If the loss is higher than expected, investigate the physical array.
Keep a record of your findings. Note the ambient temperature, the irradiance, and the measured output. This data helps you understand the specific behavior of your site. Over time, you will learn the patterns. You will know when a drop is normal and when it is a fault.
Also, review the degradation of your modules. Heat stress can accelerate degradation over time. While the immediate effect is a drop in output, the long-term effect can be a reduction in the lifetime yield. Use the degradation rate checklist to monitor the health of your array. If the degradation rate is higher than expected, thermal management may need to be improved.
Finally, consider the impact of climate change. Ambient temperatures are rising in many regions. A system that performs well today may face higher thermal stress in the future. Design and maintenance decisions made now can protect your long-term investment.
When to call a professional
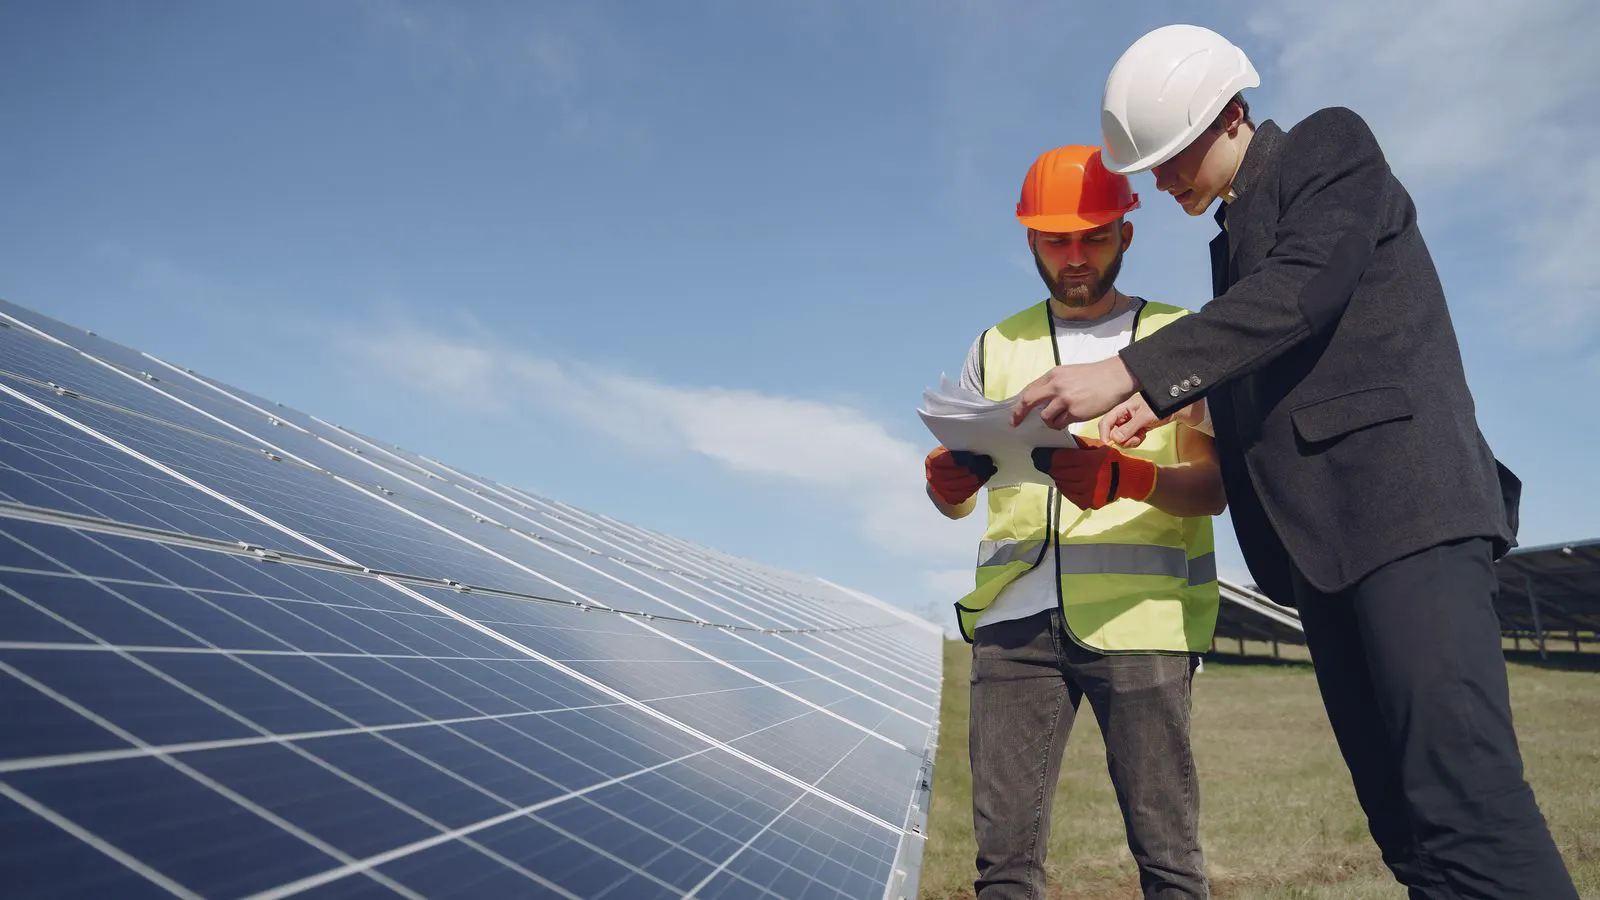
Some issues are not safe for a DIY fix. If you suspect a wiring fault, a damaged module, or an inverter problem, call a qualified installer or engineer. Working with high-voltage DC systems is dangerous. Never open the inverter or the combiner box unless you are trained and certified.
If you have followed the diagnostic steps and the problem persists, a professional can perform more advanced tests. They can use thermal imaging to detect hot spots, which may indicate a cell failure or a connection issue. They can also check the grounding and the inverter settings.
Do not ignore persistent performance drops. Even if the issue is minor, it can worsen over time. Addressing it early can save you from larger losses later.
Final thoughts
High ambient temperatures are a normal part of solar operation. The key is to understand the physics and manage the system accordingly. By using the temperature coefficient solar data, you can predict the expected loss. By improving airflow and shading, you can reduce the actual loss. By monitoring your system, you can distinguish between normal derating and fault conditions.
There is no single fix for all thermal issues. The best approach is a combination of good design, regular maintenance, and data analysis. Start with the basics: check the airflow, check the inverter, and check the data. From there, you can make informed decisions to protect your system’s performance.
Frequently asked questions
Can I reduce the impact of heat by washing the panels?
Yes, cleaning panels can improve output by removing soiling, but it does not directly cool the cells. Its main benefit is maximizing light absorption, which can indirectly increase the thermal load, so consider this in your maintenance schedule.
Is it normal for output to be lower in winter than in summer?
Winter output is lower due to less sunlight and shorter days. However, winter temperatures are cooler, which means the thermal derating is less severe. The net effect depends on your specific climate.
Do thin-film panels heat up less than silicon panels?
Generally, thin-film modules have a higher temperature coefficient, meaning they lose less power as they get hot. They do not necessarily run cooler, but their output is less sensitive to temperature changes.
Can I install fans to cool my panels?
Yes, fans can improve airflow and lower panel temperatures. However, they require power and maintenance. Evaluate the cost and reliability before installation. Passive ventilation is often a better first step.
How do I know if my inverter is derating due to heat?
Check the inverter's status display or monitoring software for temperature alarms. If the inverter output is limited to a maximum value while the panels are producing more, the inverter may be the bottleneck. Check the manual for the specific temperature limits.