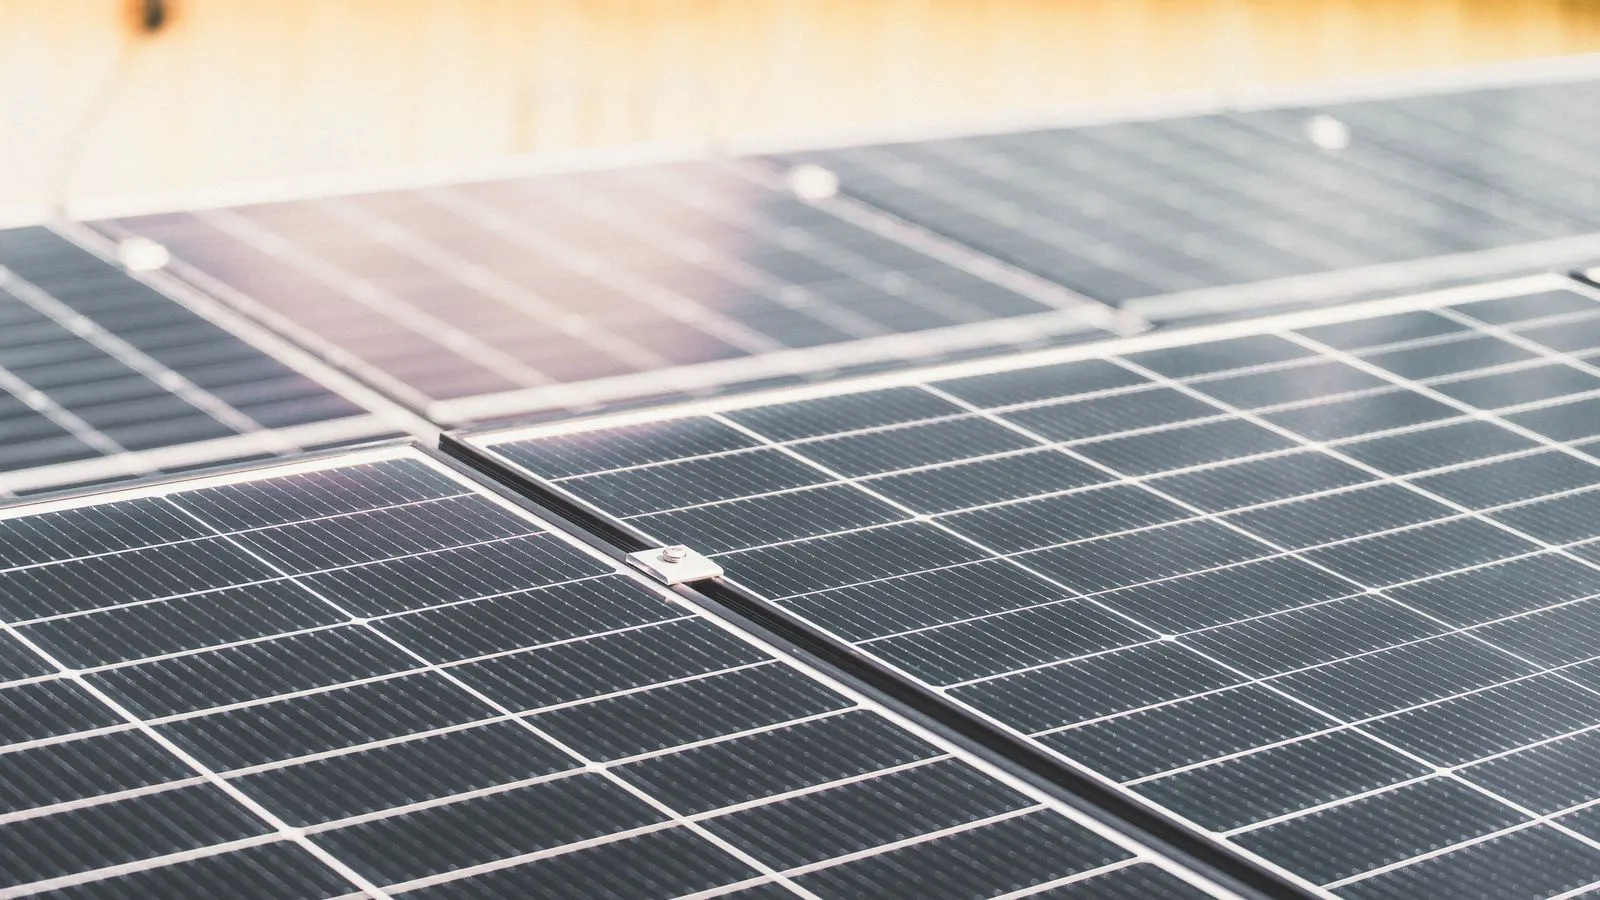
Selecting a TOPCon panel requires matching cell design, efficiency, thermal behavior, and electrical characteristics to site constraints. Follow a structured checklist covering power output, degradation rates, and system integration to ensure the technology fits the installation profile.
- Match TOPCon panel efficiency to the available roof area.
- Check temperature coefficients before choosing high-wattage modules.
- Verify degradation rates against the project financial model.
- Ensure inverter compatibility with the panel string voltage.
- Use the datasheet as the primary source for all electrical specs.
Why TOPCon panels require a specific selection process
TOPCon cells differ from standard monocrystalline PERC cells in structure and surface passivation. The tunnel oxide passivated contacts create a lower recombination center, which increases cell efficiency. For a buyer, this means the panel is not a drop-in replacement for an older PERC model. The technology changes the optimal operating point, the thermal behavior under load, and the long term performance curve.
The selection process must begin with the physical site. A commercial rooftop with limited space demands a higher wattage per square meter. A ground mounted array with ample land area can tolerate a lower efficiency module if the cost per watt is better. The technology choice interacts with these site constraints. A higher efficiency TOPCon panel may cost more upfront, but it reduces the number of strings required, which lowers balance of system costs.
Prerequisites for this selection process include the site survey, the electrical diagram, and the financial model. Without these three documents, any panel selection is a guess. The site survey defines the available area and shading. The electrical diagram defines the string configuration and inverter limits. The financial model defines the target return.
Step 1: Define the available installation area and power target
Measure the usable roof or ground area. Subtract setbacks, fire lanes, and equipment pads. This net area is the true constraint. A 5000 square meter roof is not the same as a 5000 square meter site. The net area determines the maximum number of panels you can physically fit.
Set the power target in kilowatts. If the target is 100 kW and the area is limited to 700 square meters, you need a panel that delivers at least 143 watts per square meter. Standard PERC panels might deliver 210 watts per square meter. A high efficiency TOPCon panel might deliver 220 watts per square meter or more. The difference in area requirement is significant.
This step forces the technology choice. If the area is tight, efficiency becomes the primary driver. If the area is generous, cost per watt may dominate. Document the area and the target power on the project sheet. This baseline drives every subsequent step.
Step 2: Compare cell efficiency and module power density
TOPCon technology offers a clear efficiency advantage over PERC. The cell design uses a tunnel oxide layer between the emitter and the silicon bulk. This layer reduces carrier recombination. The result is a higher cell voltage and a higher cell current.
When comparing modules, look at the module efficiency, not just the cell efficiency. Module efficiency accounts for the glass, the frame, and the cell layout. A cell may be 24 percent efficient, but the module may be 22 percent efficient. The difference comes from the interconnects and the cell spacing.
Power density is measured in watts per square meter of the module. This metric directly relates to the area constraint from Step 1. A module with 23 percent efficiency and a 200 square foot size delivers a specific power output. Compare this output to the PERC equivalent. The TOPCon module will deliver more watts from the same physical footprint.
The efficiency gain also affects the inverter sizing. Higher power density means more watts per inverter input. This can reduce the number of inverters needed. Fewer inverters mean lower installation labor and lower maintenance costs.
Step 3: Evaluate temperature coefficients and thermal behavior
TOPCon panels operate in different thermal environments than PERC panels. The temperature coefficient of power loss is a critical metric. It is expressed as a percentage of power loss per degree Celsius above 25 degrees. A coefficient of minus 0.35 percent per degree means the panel loses 0.35 percent of its rated power for every degree the cell temperature rises.
High efficiency panels often have better temperature coefficients than older PERC panels. This is because the higher cell voltage is less affected by temperature stress. However, you must verify this on the datasheet. Do not assume the technology guarantees a specific coefficient. Different manufacturers use different cell geometries and busbar designs.
Consider the site climate. A ground mounted array in a hot desert will see higher cell temperatures than a rooftop array in a temperate climate. The temperature difference can be 10 to 20 degrees Celsius. A panel with a better temperature coefficient will maintain more power in the hot months. This impacts the annual yield calculation.
Include the temperature coefficient in the financial model. A 0.1 percent difference in the coefficient over ten years of operation can shift the project return. Use the datasheet value, not a marketing estimate. The datasheet is the contractual specification.
Step 4: Check degradation rates and long term performance
The degradation rate determines the panel output over the project life. Most TOPCon panels are warranted for 25 years. The degradation rate is typically expressed as an annual percentage loss. A rate of 0.5 percent per year means the panel outputs 95 percent of its initial power after 20 years.
Some TOPCon panels offer a first year degradation warranty of 2.5 percent. This first year loss is higher than the steady state degradation. The first year includes the initial burn in period. The silicon stabilizes during this time.
Compare the degradation rate to the PERC baseline. TOPCon technology generally shows lower degradation than PERC. This is due to the improved passivation and the lower recombination center. The long term performance is a key value proposition.
For a project with a 20 year lease, the cumulative degradation matters more than the first year loss. Use the annual rate to project the average output over the lease term. A lower degradation rate improves the energy yield and the project value.
Step 5: Verify electrical parameters for system integration
The electrical parameters on the datasheet must match the inverter and the string design. Key parameters include the open circuit voltage, the maximum power point voltage, and the short circuit current. These values determine the string configuration.
The open circuit voltage must not exceed the inverter maximum input voltage, even at the lowest ambient temperature. Cold mornings can raise the open circuit voltage. A string of ten panels at 25 degrees might be fine, but at minus 10 degrees, the voltage will be higher. Calculate the voltage at the lowest expected ambient temperature.
The maximum power point voltage must be within the inverter operating range. The inverter tracks the maximum power point. If the string voltage is below the inverter minimum tracking voltage, the inverter will not operate efficiently. This is a common mistake in string design.
The short circuit current must not exceed the inverter maximum DC input current. This is a safety and hardware limit. Exceeding this limit can damage the inverter electronics. Use the datasheet short circuit current value, not the nameplate power. The short circuit current is a fixed property of the cell array.
Step 6: Assess mechanical and environmental specifications
The panel frame, glass thickness, and mounting system must handle the site conditions. A coastal site requires a panel with a higher corrosion resistance rating. A ground mounted array requires a panel that can handle higher snow loads. A rooftop array requires a panel that can handle higher wind uplift.
Check the maximum wind speed the panel can withstand. This is usually specified as a pressure in kilopascals. The local wind load must be below this limit. For a ground mounted array, the snow load is a separate factor. The panel must support the weight of the snow without cracking the glass.
The frame material is usually aluminum or stainless steel. Aluminum is lighter and cheaper. Stainless steel is heavier and more corrosion resistant. The choice depends on the site environment. A coastal installation should prioritize stainless steel or a high grade aluminum alloy.
The glass thickness is usually 4 millimeters or 5 millimeters. Thicker glass is more resistant to impact. For a ground mounted array, 5 millimeter glass is often preferred. For a rooftop array, 4 millimeter glass is common. The choice affects the panel weight and the mounting hardware requirements.
Step 7: Review the warranty and after sales support
The warranty is the financial protection for the panel. Most manufacturers offer a product warranty of 10 to 12 years and a performance warranty of 25 years. The performance warranty guarantees a minimum power output at specific years.
Read the performance warranty carefully. It usually states that the panel will deliver 80 percent of its initial power after 25 years. This is a contractual obligation. If the panel does not meet this, the manufacturer must compensate the buyer. The compensation is usually a cash payout based on the underperformance.
The product warranty covers defects in materials and workmanship. It covers glass cracks, cell failures, and connector problems. The warranty terms should be clear on claim procedures and response times. A manufacturer with a slow claim process is a higher risk.
Check the manufacturer’s financial stability. A small manufacturer may go bankrupt in five years. The warranty may become worthless. A large manufacturer with a long track record is a safer bet. The after sales support includes technical assistance, spare parts, and firmware updates for the inverter.
Common mistakes in TOPCon panel selection
The most common mistake is selecting based on nameplate power only. A panel with a higher nameplate power may have a worse temperature coefficient. It may also have a higher cost per watt. The nameplate power is a single number at standard test conditions. It does not tell the whole story.
Another mistake is ignoring the area constraint. A buyer may choose a high efficiency panel but then find that the roof cannot support the additional weight. The higher efficiency panel is heavier due to the thicker glass and the larger cells. The structural load must be verified.
A third mistake is not checking the inverter compatibility. The inverter and the panel must work together. The inverter must be able to handle the string voltage and the current. The inverter must have enough DC input capacity. The inverter must be able to track the maximum power point across the entire string voltage range.
A fourth mistake is assuming all TOPCon panels are the same. The technology is a cell design. The module design varies by manufacturer. The busbar layout, the cell size, and the glass type all affect the performance. Two TOPCon panels from different manufacturers can have very different performance characteristics.
Final verification step
Before placing the order, run a final verification on the selected panel. Check the datasheet against the project requirements. The area must be sufficient. The power target must be met. The temperature coefficient must be acceptable for the climate. The degradation rate must fit the financial model. The electrical parameters must match the inverter. The mechanical specs must handle the environmental loads. The warranty must be valid for the project life.
Create a comparison table with the top three panel options. List the efficiency, the power density, the temperature coefficient, the degradation rate, the cost per watt, and the warranty terms. This table forces a clear decision. Remove the options that fail any hard requirement. Choose the remaining option with the best cost per watt and the best performance.
Document the selection in the project file. Include the datasheet, the comparison table, and the rationale. This documentation is essential for the engineering review and the financial approval. It also protects the buyer in case of a dispute.
Selection comparison table
| Parameter | Low Efficiency TOPCon | High Efficiency TOPCon | Standard PERC |
|---|---|---|---|
| Module Efficiency | 21 to 22 percent | 23 to 24 percent | 20 to 21 percent |
| Power Density | 190 to 200 W/m2 | 210 to 220 W/m2 | 180 to 190 W/m2 |
| Temperature Coefficient | -0.35 percent per C | -0.30 percent per C | -0.38 percent per C |
| Degradation Rate | 0.5 percent per year | 0.4 percent per year | 0.6 percent per year |
| Typical Use Case | Large ground arrays | Limited rooftop space | General purpose |
| Cost per Watt | Moderate | High | Low |
The table shows the trade offs. The high efficiency TOPCon panel is the most expensive per watt. It is the best choice when space is limited. The low efficiency TOPCon panel is a middle ground. It offers better efficiency than PERC at a lower cost. The standard PERC panel is the cheapest. It is the best choice when space is abundant and cost is the primary concern.
Use the table as a decision aid. It does not replace the datasheet. The datasheet provides the exact values for a specific model. The table provides a general comparison of the technology tiers.
When to avoid TOPCon panels
TOPCon panels are not the right choice for every project. If the site has a very limited budget and no space constraint, a PERC panel may be a better financial fit. The cost per watt of PERC is lower. The savings over 25 years may offset the higher efficiency of TOPCon.
If the site has extreme temperature swings, check the temperature coefficient carefully. Some TOPCon panels have a higher temperature coefficient than PERC. This is unusual but possible. The datasheet will reveal this. If the temperature coefficient is worse than the PERC alternative, the PERC panel may be a better choice for the specific climate.
If the project requires a specific inverter that is not compatible with the TOPCon string voltage, the TOPCon panel may not be suitable. The inverter must be able to handle the voltage and current. If the inverter is fixed, the panel must fit the inverter. The inverter is often the system constraint.
These exceptions are rare. For most commercial and industrial projects, TOPCon is a strong choice. The efficiency gain and the low degradation rate make it a good fit for the majority of installations.
Frequently asked questions
How much more efficient is a TOPCon panel compared to a PERC panel?
TOPCon panels typically offer a module efficiency of 23 to 24 percent. PERC panels typically offer 20 to 21 percent. The difference is 3 to 4 percent in efficiency.
Do TOPCon panels have a better temperature coefficient?
Many TOPCon panels have a better temperature coefficient than PERC panels. However, you must check the datasheet. Some TOPCon models have a coefficient of minus 0.30 percent per degree. PERC models often range from minus 0.35 to minus 0.40 percent per degree.
What is the degradation rate for TOPCon panels?
The annual degradation rate for TOPCon panels is typically 0.4 to 0.5 percent. The first year degradation is usually higher, around 2.5 percent. This is lower than the PERC baseline of 0.6 percent per year.
Can I mix TOPCon and PERC panels in the same string?
You should not mix different technologies in the same string. The different cell voltages and currents will cause the lower performing panel to limit the string output. This reduces the overall system efficiency.
How does the cost of a TOPCon panel compare to PERC?
TOPCon panels cost more per watt than PERC panels. The cost difference is usually 10 to 20 percent. However, the higher efficiency and lower degradation can improve the project return over the panel life.