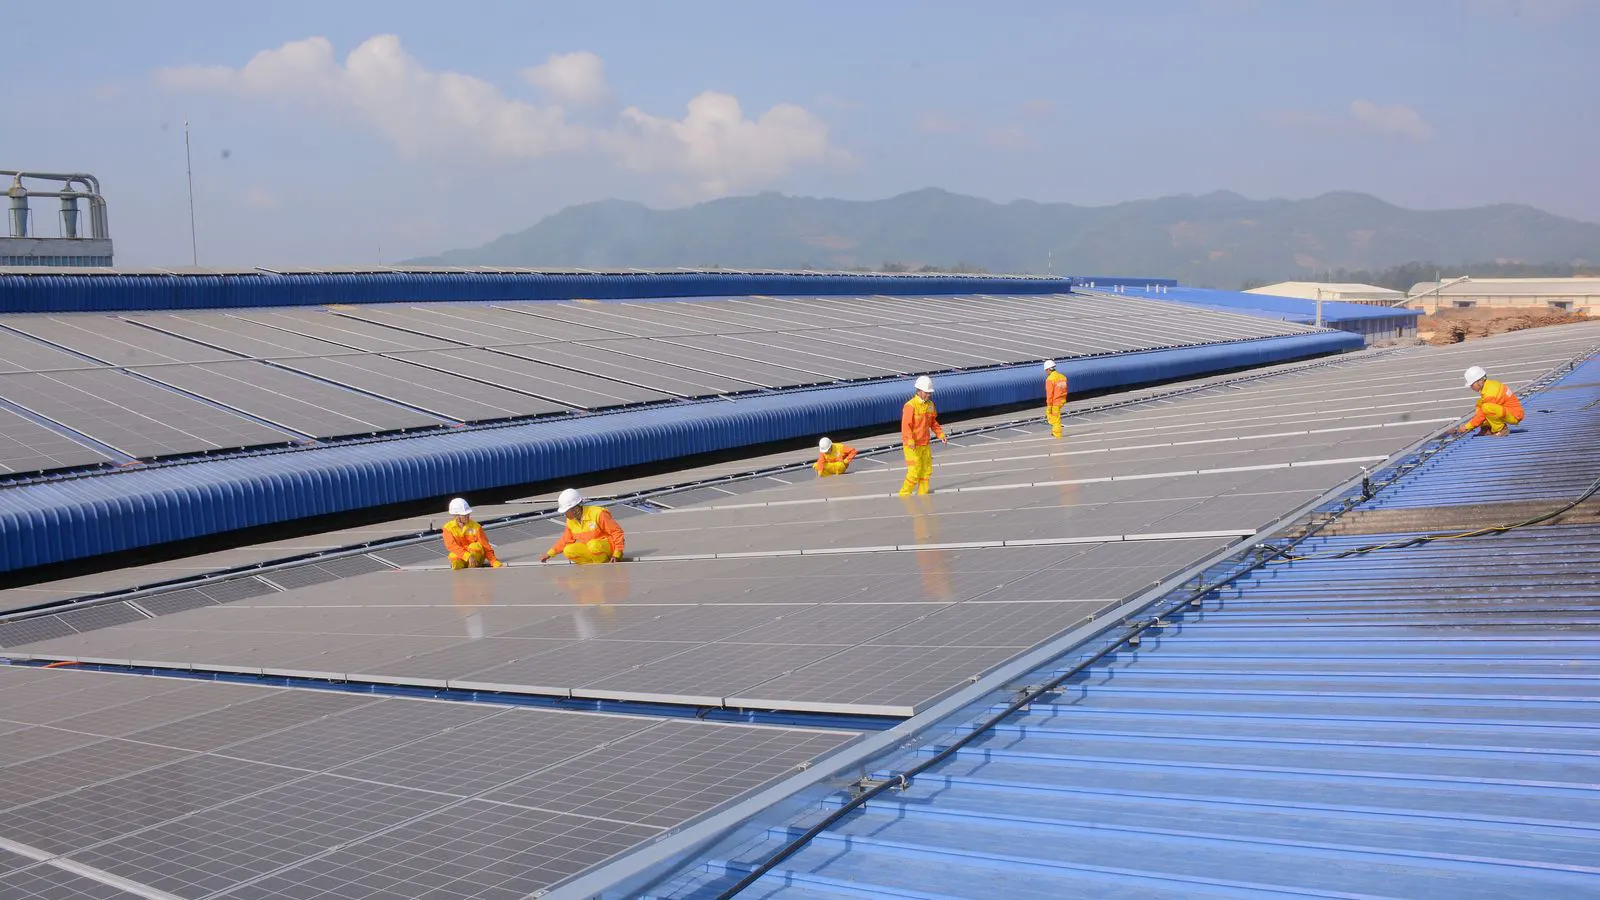
Mismatched mechanical dimensions cause mounting fit, torque, and structural failures. This guide lists common symptoms, identifies likely causes, and provides direct fixes for installation errors. It also covers prevention tips for verifying panel specs early.
- Always verify frame dimensions and mounting hole patterns against rail specifications before site work.
- Use torque wrenches and check bolt tightness after thermal cycling and initial load testing.
- Document panel serial numbers and mechanical data sheets to trace tolerance issues quickly.
- Prevent fit errors by confirming edge and corner radii match the mounting hardware profile.
- Replace or rework mismatched frames only after isolating the affected module and checking adjacent panels.
Why Mechanical Mismatches Appear in the Field
Mismatched mechanical data between solar modules and mounting hardware shows up during racking, torque checks, or after the first storm season. The problem is rarely electrical. It is structural. A panel with a 15mm frame may not fit a rail designed for a 13mm profile. A module with a 7mm stand-off distance can bind a clamped frame and leave the glass under uneven stress.
These differences often come from different manufacturers, different production batches, or custom orders that deviate from standard dimensions. Sometimes the racking system is fine, but the panel is from a different series. Sometimes the panel is standard, but the site racking was modified for roof pitch or wind load.
The result is a panel that sits crooked, a clamp that does not seat, or a frame that flexes under wind. Left unchecked, these issues can crack the glass, loosen electrical connections, or create a safety hazard.
Common Symptoms of Poor Panel Fit
Field teams often see the first signs during installation. If a panel does not sit flat against the clamps, stop and inspect. If the frame corner is not aligned with the rail end, measure the gap. If a clamp feels loose after torqueing, check the hole pattern and frame thickness.
Below are the most frequent symptoms, their likely causes, and the direct fixes that resolve the issue.
| Symptom | Likely cause | What to do |
|---|---|---|
| Frame does not sit flush on rail | Different frame thickness or rail profile mismatch | Measure frame thickness and rail contact surface. Replace rail segment or use adapter plate if within load limits. |
| Clamp will not tighten to torque | Misaligned mounting hole or frame corner radius too small | Check hole pattern against panel datasheet. Re-drill only if engineering approves. Otherwise replace clamp or rail. |
| Panel appears tilted after installation | Stand-off distance differs from rail design | Measure stand-off height. Adjust clamp position or use shims if the rail allows. Do not shim the frame directly. |
| Glass edge shows stress lines after wind | Frame flexes under load due to loose clamp or undersized frame | Retorque all clamps. Inspect frame for cracks. Replace panel if frame is deformed or glass is damaged. |
| Bolt heads are stripped or rounded | Wrong fastener size or over-torqued on soft material | Replace fasteners with correct grade and size. Use a torque wrench set to the manufacturer limit. |
| Panel serial number does not match racking plan | Wrong panel series mixed into the array | Pull the panel and verify against the procurement list. Swap with a matching unit from the same series. |
How to Verify Mechanical Data Before Installation
Do not assume a panel is compatible because it has the same electrical rating. Check the mechanical data on the datasheet against the racking specification. The datasheet usually lists frame dimensions, mounting hole locations, stand-off distance, and corner radii. The racking spec lists rail profile, clamp bolt size, and maximum frame thickness.
Write these values down on the installation sheet. If the panel is from a custom order, request the mechanical drawing, not just the datasheet. A generic datasheet may omit the exact hole pattern or frame corner radius.
Check the panel corners visually. A panel with a sharp corner may not fit a clamp designed for a rounded corner. A panel with a raised frame edge may prevent a clamp from seating. If the hardware and panel do not match visually, do not force it.
Torque and Bolt Integrity Checks
Torque is where most mechanical fit issues become permanent. A bolt that is too loose lets the panel shift. A bolt that is too tight can deform the frame or strip the hole. Use a torque wrench and follow the fastener manufacturer’s limit.
After all panels are installed, walk the array and recheck a random sample of clamps. Tighten any that are below the minimum. If a bolt will not reach torque, do not keep turning it. Stop and inspect the hole.
If the frame material is soft, such as certain aluminum alloys, a small amount of deformation can occur. This changes the fit over time. Replace the fastener and consider a slightly higher torque rating if the engineering spec allows.
Frame and Glass Inspection After Installation
Look at the panel edges and corners. A small gap between the frame and the glass can indicate stress. A visible crack in the glass, even if hairline, means the panel should come off the array. A bent frame corner is a sign of over-torque or a clamp that did not seat.
Check the backsheet for wrinkles. A backsheet that is pulled tight may indicate the frame is being forced out of shape. A backsheet that is slack may indicate the panel is loose.
After the first few weeks of operation, inspect the array again. Thermal cycling can loosen clamps. Wind can shift panels. If a panel has moved, measure the gap again and recheck the hole pattern.
Preventing Mismatched Mechanical Data in Future Projects
Prevention is cheaper than field repair. Start at the procurement stage.
- Request the full mechanical datasheet, including frame dimensions, hole pattern, and corner radius.
- Confirm the racking system supports the panel’s frame thickness and stand-off distance.
- Match the panel series to the racking spec before ordering. Do not mix series without a compatibility check.
- Store the mechanical drawings in the project file.
- Train installation crews to measure frame thickness and hole alignment before tightening clamps.
A small discrepancy at the drawing stage can save a day of work on site. A mismatch found during installation is a delay. A mismatch found after the system is live is a safety issue.
When to Replace the Panel
Replace the panel if the frame is cracked, the glass is damaged, or the frame cannot be brought back to shape. If the clamp is damaged, replace the clamp. If the rail is bent, replace the rail segment. Do not mix repairs. A repaired frame may not hold torque over time.
If multiple panels in the same row show the same fit issue, stop. The problem is likely in the racking or the panel batch. Do not continue installation until the root cause is fixed.
Frequently asked questions
Can I use a different clamp on a panel with a non-standard frame?
Only if the clamp manufacturer confirms fit and load capacity. Check frame thickness, hole pattern, and corner radius against the clamp spec. If the clamp does not seat fully, do not install it.
How do I check if a panel’s stand-off distance is correct?
Measure the distance from the panel backsheet to the top of the frame at the clamp location. Compare it to the racking spec. If the value is outside the allowed range, adjust the clamp or replace the rail segment.
What should I do if a bolt will not reach the specified torque?
Stop and inspect the hole and fastener. Check for a wrong bolt size, stripped threads, or a deformed frame. Replace the fastener and recheck the frame. Do not force the bolt.
Does mixing panel series in the same array cause mechanical problems?
Yes, if the frame dimensions, hole patterns, or stand-off distances differ. Even small differences can cause fit issues and uneven stress. Match the series or confirm compatibility before installation.
How often should I recheck clamp torque after installation?
Recheck after the first storm season and after any major temperature swing. A random sample of clamps is usually enough. Tighten any that are below the minimum. If a bolt is loose repeatedly, inspect the panel and rail.